How to Use the Fantom Sonic Open Testnet

On October 24, we announced Fantom Sonic and released its testnet environment to the public. The network upgrade will scale Fantom to beyond 2,000 transactions per second with a one-second finality while reducing storage requirements by up to 90%.
The Sonic open testnet allows users to interact with Sonic by submitting transactions and performing swaps to experience its incredible performance directly. This master tutorial will cover all the essentials for you to make the most of the open testnet.
— Add testnet RPC
— Add RPC automatically
— Add RPC manually
— MetaMask
— Frame
— Other wallets
— Use testnet explorer
— Use search bar
— Find transaction hash
— View blocks
— Claim FTM and swap
— Claim testnet FTM
— Perform swaps
Add testnet RPC
Add RPC automatically
The Sonic open testnet dashboard features a button to add the network to your preferred wallet automatically. We use MetaMask for this part of the tutorial, but any wallet that can mimic or inject as MetaMask should work.
- Connect wallet
- Go to the Sonic open testnet dashboard
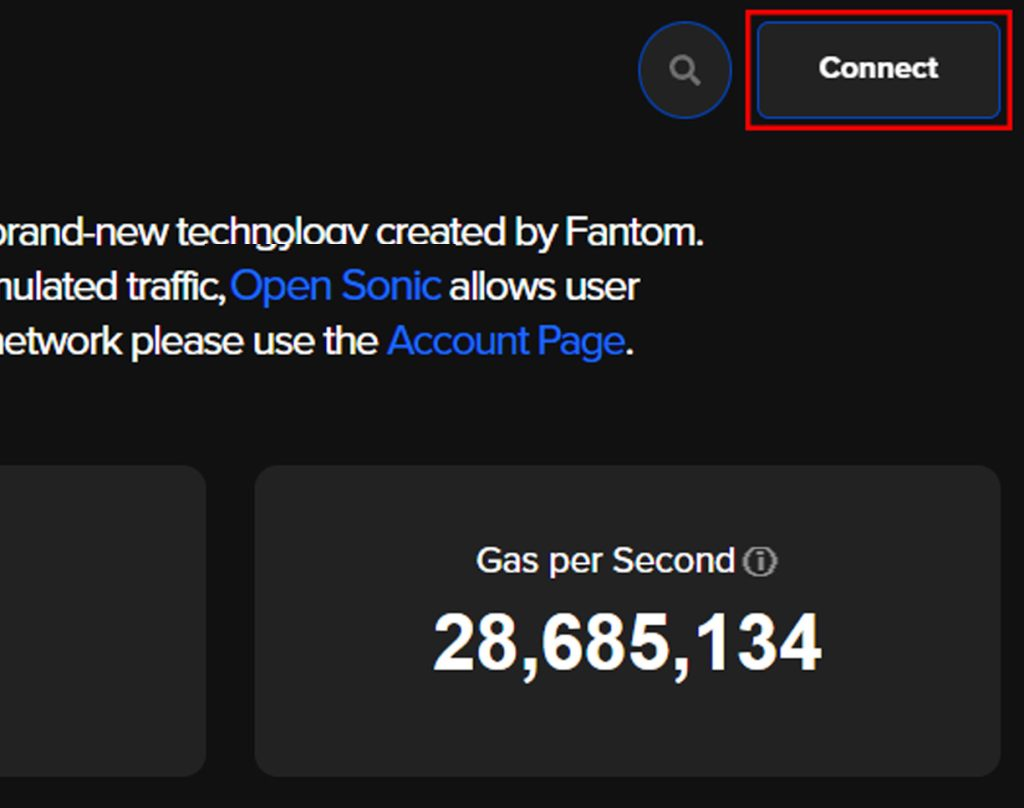
- In the top-right corner, click Connect
- Choose your desired wallet account and connect
- Go to the account page, unless automatically redirected
- Configure network
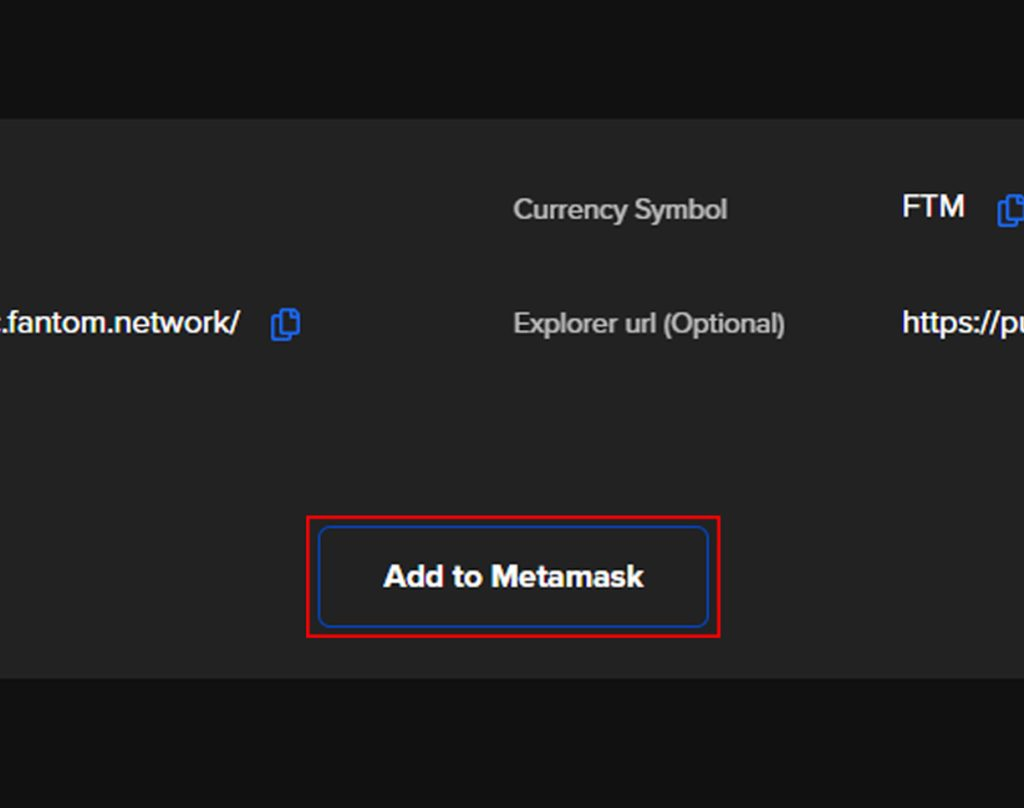
- In the Network section, click Add to MetaMask
- Ensure the network details in your wallet match those on the web page
- Approve the action in your wallet and click Switch network when prompted
Once you are connected to the Sonic open testnet, you can request various testnet tokens through the Faucet and experience the performance of Sonic with the Sonic Trade feature.
If these steps do not work for you, follow the next part of the tutorial to add the network to your wallet manually.
Add RPC manually
Follow these steps to add the Sonic open testnet network to your wallet manually.
MetaMask
- Connect wallet
- Go to the Sonic open testnet dashboard
- In the top-right corner, click Connect
- Choose your desired wallet account and connect
- Go to the account page, unless automatically redirected

- Add network
- In MetaMask, click on the network icon in the top-left corner
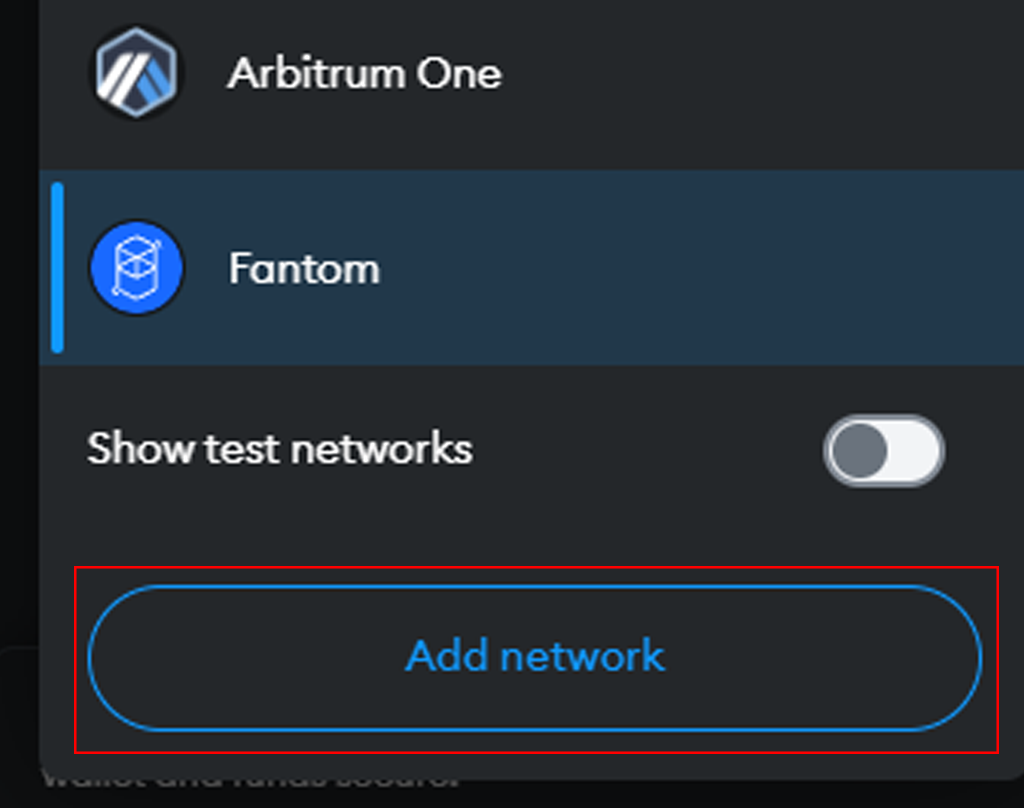
- At the bottom, click Add network, after which you will be redirected to MetaMask’s browser interface
- At the bottom of the page, click Add a network manually
- Enter details
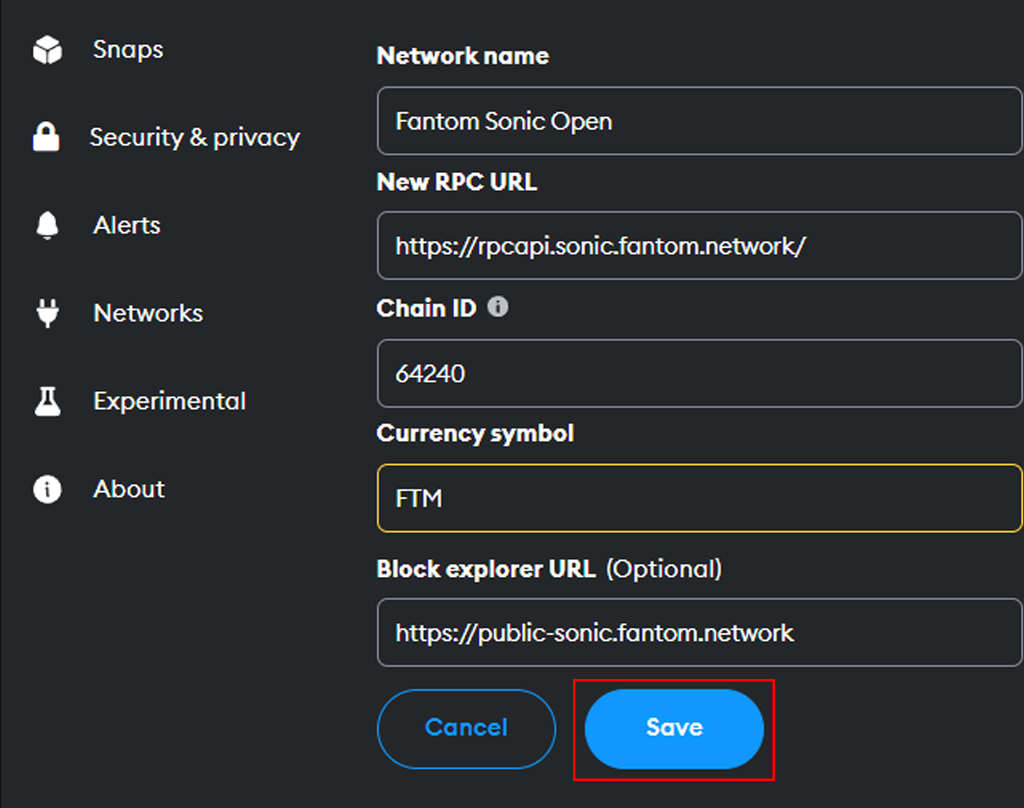
- Enter the details from the Network section of the open testnet account page into the boxes
- Once you ensure the details are correctly entered, click Save
- Click Switch to Fantom Sonic Open
- Head back to the open testnet dashboard to begin using Sonic.
Frame
- Connect wallet
- Go to the Sonic open testnet dashboard
- In the top-right corner, click Connect
- Choose your desired wallet account and connect
- Go to the account page, unless automatically redirected

- Add network
- In Frame, click on the menu icon in the top-left corner
- Click Chains and then Add New Chain at the bottom
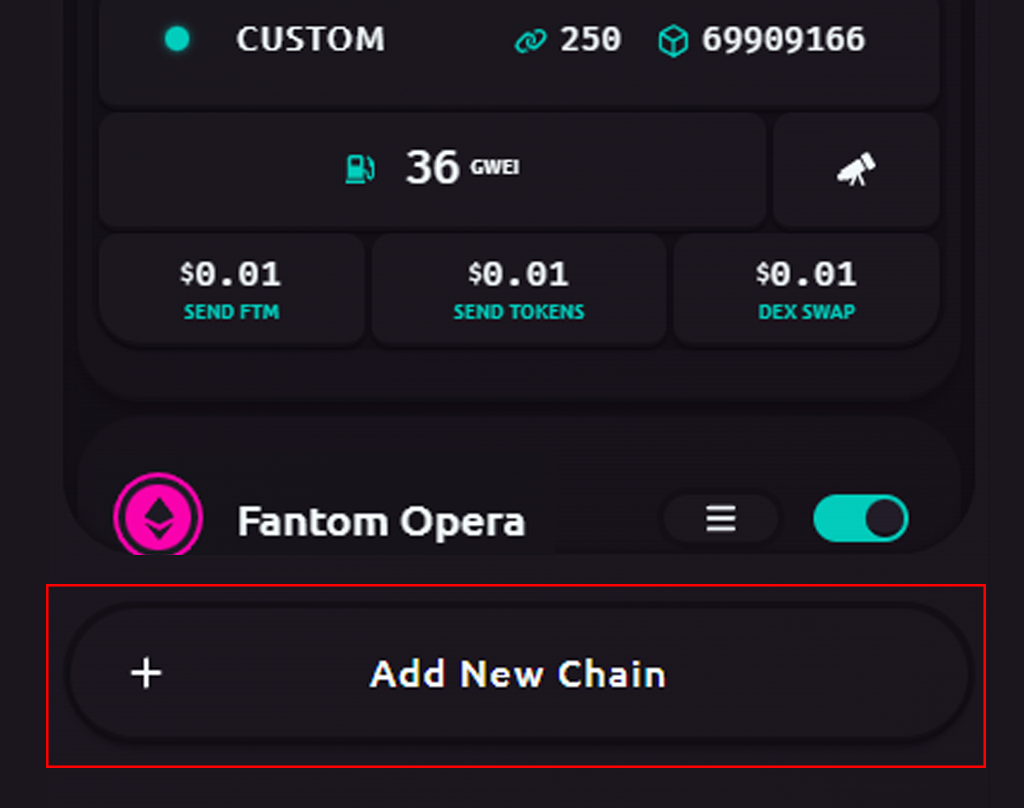
- Enter details
- Using the details from the Network section of the open testnet account page, enter the details into the boxes
- Type FTM for both Native Symbol and Native Currency Name
- Once you ensure the details are correctly entered, click Add Chain
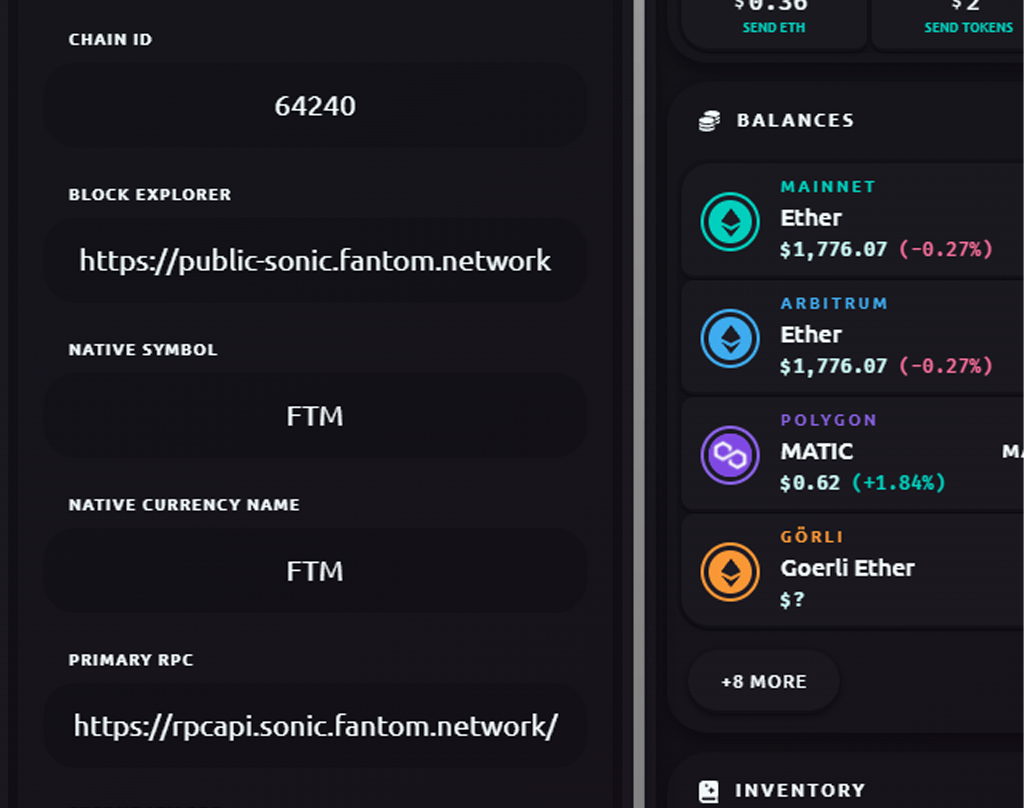
- Switch network
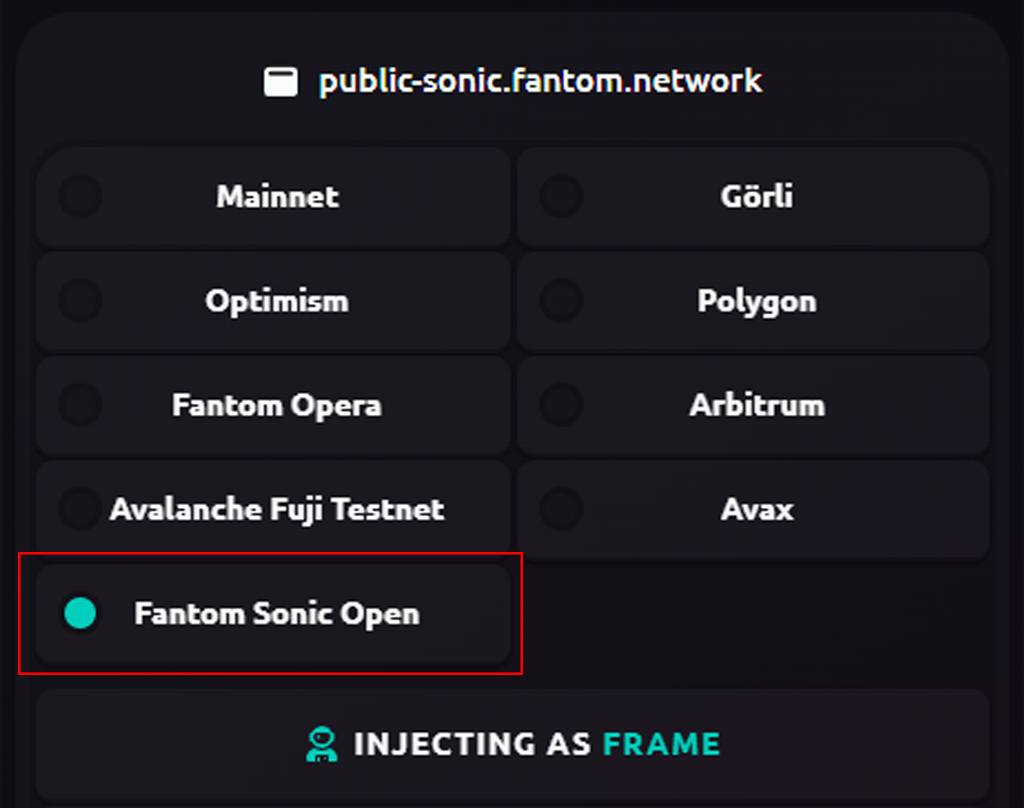
- Click on the Frame extension icon in your browser
- Click Fantom Sonic Open
- Head back to the open testnet dashboard to begin using Sonic.
Other wallets
For wallets other than MetaMask and Frame, the process is similar to the tutorial above. Simply head to the section in your preferred wallet that allows you to add a custom network and enter the details from the Network section of the Sonic open testnet dashboard.
Having trouble? Reach out to us on our social media channels where we are ready to assist.
Use testnet explorer
Use search bar
Once you enter the Sonic open testnet dashboard, the search icon at the top will allow you to search for addresses, transactions, and blocks on the network. The screenshot below shows an address, including its token balances and latest transactions.
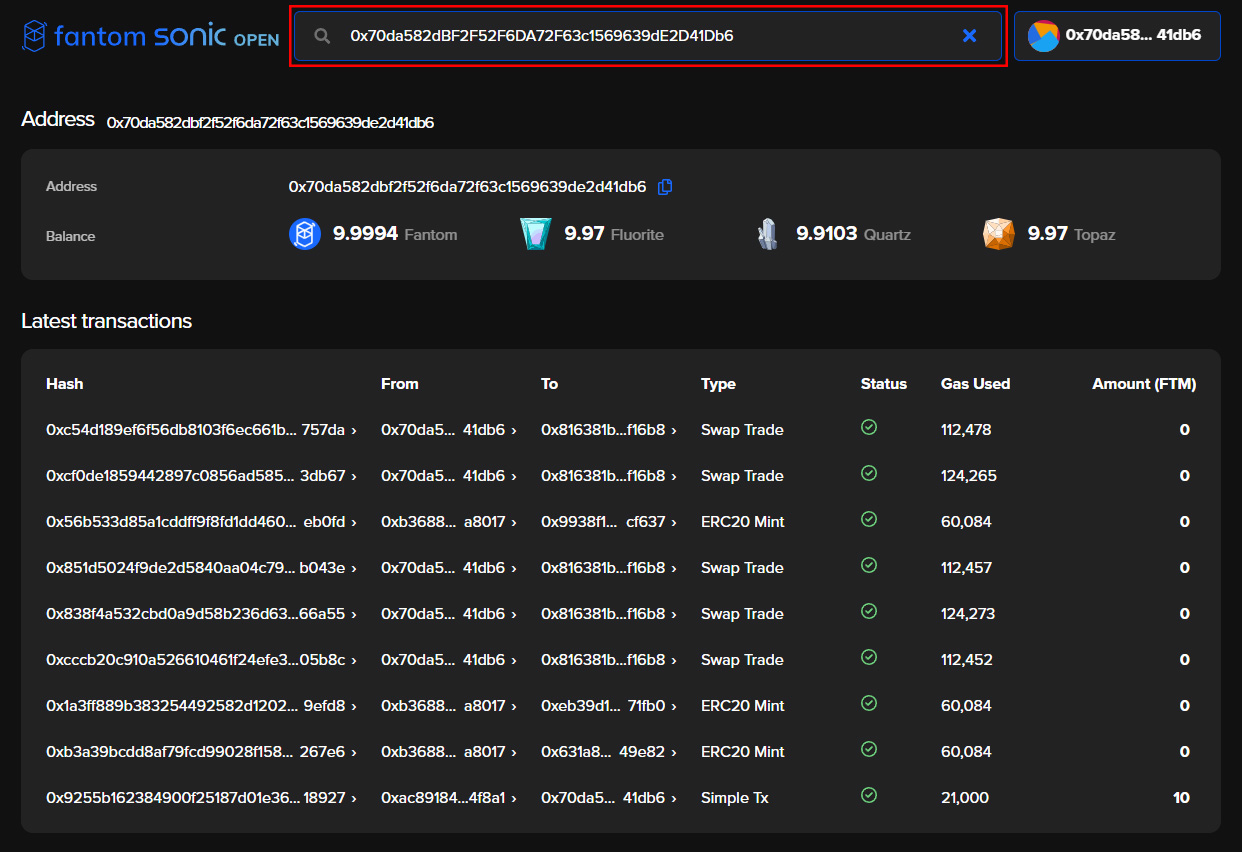
By clicking on a transaction in the list, you can view its details, including its hash, sender and recipient, timestamp, gas used, transaction fee, and more.
It is also possible to use the search bar to view a specific transaction directly by entering its transaction hash.
Find transaction hash
To view a specific transaction with the Sonic open testnet explorer, open your connected wallet and click on the desired transaction. We use MetaMask for this part of the tutorial, but the process should be similar for most compatible wallets.
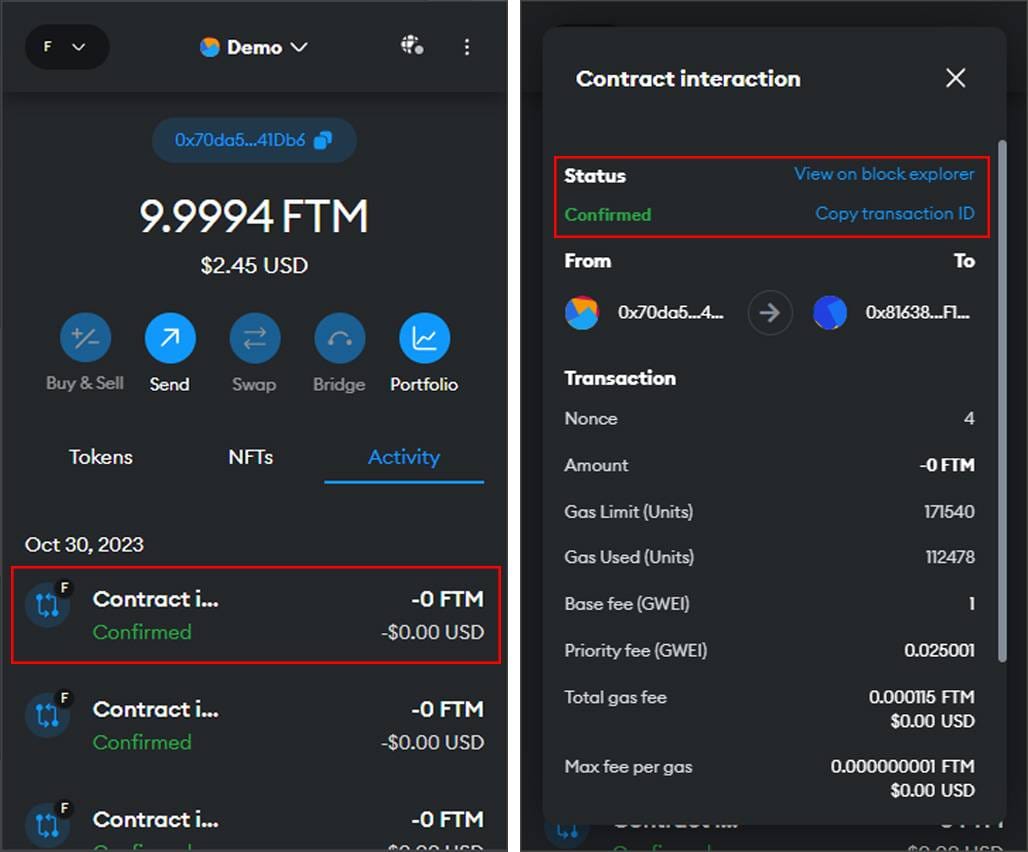
Once you have opened the transaction in your wallet, click View on block explorer at the top, which will take you to the testnet explorer to view your transaction. If the button does not work, click Copy transaction ID instead and paste it into the search bar of the testnet explorer.
View blocks
The Sonic open testnet explorer provides an overview of the most recent blocks on the network or a historical list of all blocks confirmed as shown in the screenshot below.
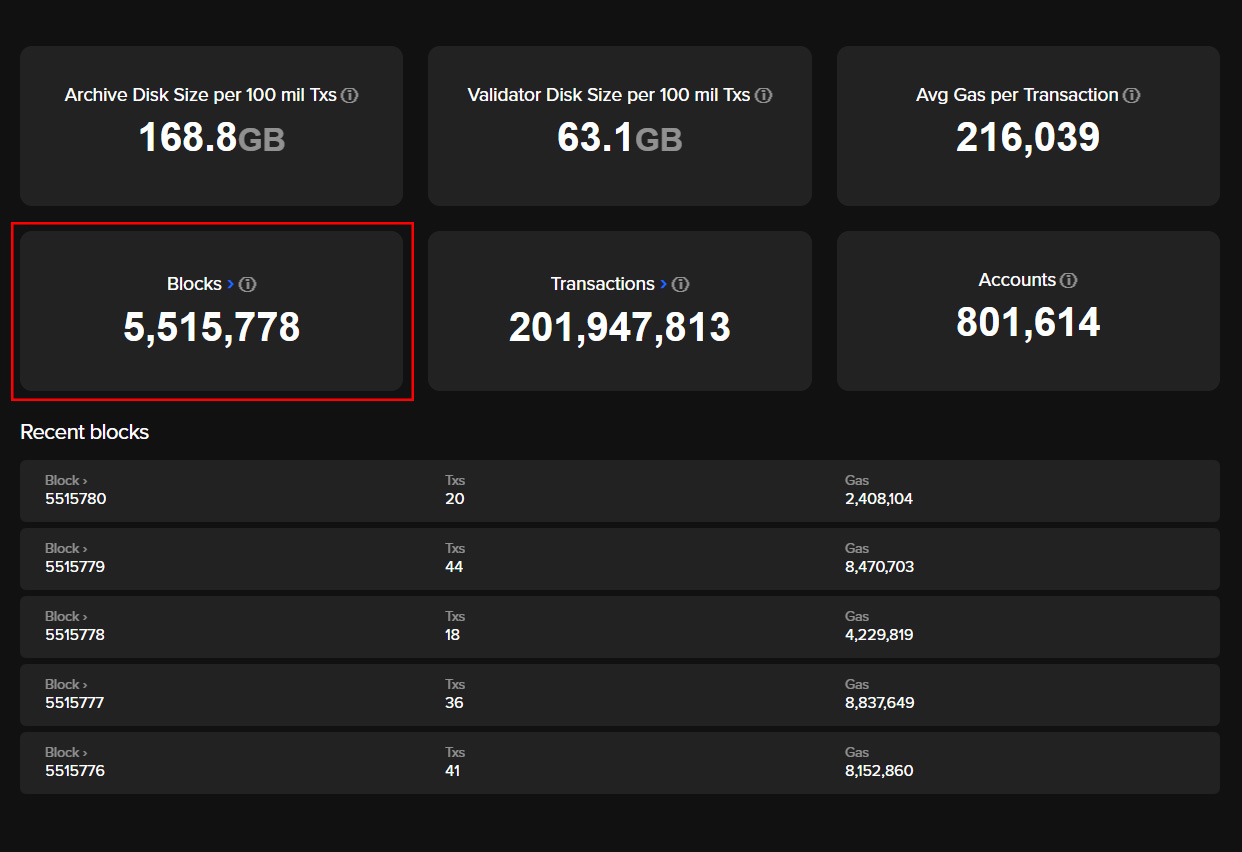
Claim FTM and swap
Claim testnet FTM
Once you enter the account page of the Sonic open testnet dashboard, head to the Faucet section. This feature allows you to request FTM and various other tokens that can be used with Sonic Trade or other dApps deployed on the testnet. Each request grants you ten tokens, but you can only claim each token a maximum of five times daily.

Choose your desired token from the dropdown and click Request. Sign the action in your connected wallet, and you will receive the token instantly. We recommend requesting FTM and a bunch of the other tokens as you will need them to perform swaps in the next section.
Perform swaps
Stay on the account page of the Sonic open testnet dashboard and head to the Sonic Trade section. This feature allows you to experience Sonic’s lightning-fast speed by performing swaps between the tokens you requested in the previous section.

In the From box, choose one of the tokens you requested, and in the To box, choose a token for which you want to swap it. Click Swap and confirm the action in your wallet. The swap should be completed in less than a second.
With the Sonic open testnet explorer, you can view the swap transaction and its details, including timestamp, gas used, transaction fee, and more.
Frequently asked questions
The launch of Sonic comprises three main components that scale Fantom to new heights:
● A new virtual machine, the Fantom Virtual Machine (FVM), which increases our transaction throughput significantly while maintaining ultra-short finality.
● A new database storage, Carmen, which reduces storage requirements by up to 90%, providing greater cost efficiency for validators and accelerating the Foundation’s ability to deploy archive nodes from weeks to approximately 36 hours.
● An optimized Lachesis consensus mechanism, which brings a vastly improved transaction pool.
Fantom Sonic is in its testnet stage at the moment and will roll out as a mainnet to replace Fantom Opera in spring 2024. Currently, Sonic offers two different testnets: the closed testnet aims to showcase the maximum theoretical limits of Sonic, whereas the open testnet is interactive, allowing any user to experience Sonic directly.
Most importantly, this new virtual machine allows Fantom validators to execute smart contracts more efficiently.
The closed testnet is viewable only and aims to showcase the maximum theoretical limits of Sonic, whereas the open testnet is interactive, allowing any user to experience Sonic directly.
However, there may be even more significant performance gains with further testing that may require a hard fork in the future, but the current plan is not to hard fork Fantom Opera.


